Halloween is approaching, so we figured what better time to make some spooky (and trendy) skeleton cutout shirts. We’re going to show you how to make two different types of skeleton shirts: a skull cutout and a ribcage cutout. We also thought it would be cool to print some designs on the fronts of our shirts for some extra customization. Check out our big selection of skull shirts for many other options in addition to the ones we used. You can be as creative with these as you want!
Skull Cutout Shirt
Here are all of the items you will need:
- A shirt. We went with our Misses Bella Flowy V-Neck Half-Sleeve Tee.
- Scissors.
- A pen or other marking instrument. (Chalk works well on darker shirts.)
- A ruler.
- Our Skull Cutout Shirt template. (But, feel free to freehand it if you prefer.)
1. Cut out the eyes, nose and teeth. We cut around everything and then saved the scraps to be used as a “shell” which comes in handy later. You can do this too if you’d like.
2. Lay your shirt flat with the back facing up. Make sure that the wrinkles are smoothed out and that the seams are straight.
3. Now, arrange your cut out pieces on the back. This is where the scraps come in handy. We used them to help measure and fit the cut out pieces where. Use the ruler to make sure that everything is centered and lined up.
4. Then, trace around each piece. It doesn’t have to be perfect because you’ll be cutting them out later.
5. When that’s done, it’s time to cut out the pieces! You’ll have to fold the fabric in half to get inside of each piece. Just be careful not to cut through the other side!
6. With all of the pieces cut out, you can go back and clean up some of the edges with your scissors.
7. Now all you have to do is wear your new Skull Cutout Shirt and enjoy!

Skeleton Ribs Cutout Shirt
Here are all of the items you will need:
- A shirt. We went with our Misses Bella Flowy Draped Sleeve Dolman.
- Scissors.
- A pencil or chalk. You’ll want something that washes out easily as all marks made are not going to be cut out.
- A ruler.
1. Lay your shirt flat with the back facing up. Make sure that the wrinkles are smoothed out and that the seams are straight.
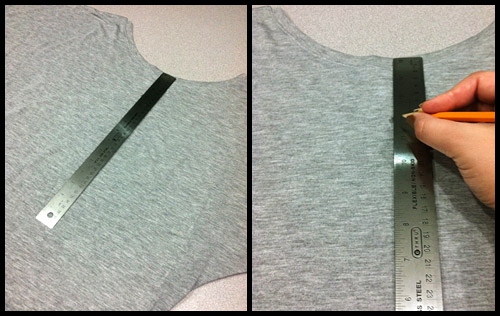
2. Find the center of the shirt and put a mark on the top and bottom of the section you would like the ribs to be.
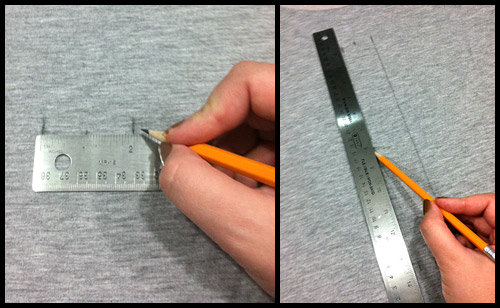
3. Put marks 1″ on each side of the center marks, making a 2″ section for the spine. Then, using your ruler connect these marks.
4. Draw the outlines of the rib area on the shirt.
3. Next, mark where you want the ribs to be. The distance apart is personal taste, but we did 3/4″.
4. Make horizontal lines on these marks across both sides.
5. Cut on each horizontal line. the cuts should go from the spine to the outer edge of where you drew the ribs.
6. Roll the strips left in your fingers so that they “curl” and become skinnier.
7. You might want to wash the shirt before wearing to get off the extra marks and help the strips curl more.

We hope you enjoyed these tutorials! If you used either one, let us know how your shirt turned out!
Also, check be sure to check out our full selection of Halloween t-shirts and other apparel!


